Glowscar procedure guide
This guide is targeted at standard, single-line scarifications for which the process is known and reliable. For larger ones involving peeling or branding, the process is inevitably going to be quite experimental.
This guide covers standard, single-line scarifications for which the process is known and reliable. For larger ones involving peeling, branding, or any unconventional practices, the process is inevitably going to be quite experimental and up to the professional's best judgment and experience.
Preparation and tools
Follow the same preparation as any scarification. All the powder used must be sterile and implanted with sterile equipment.
Beware, the silica-coated powder is very abrasive for tools and needles. If cutting through powder, it will act like sandpaper and quickly make the blades blunt. If you need to cut through and already powdered scar (healed or not), make sure to have spare blades and cut slowly.
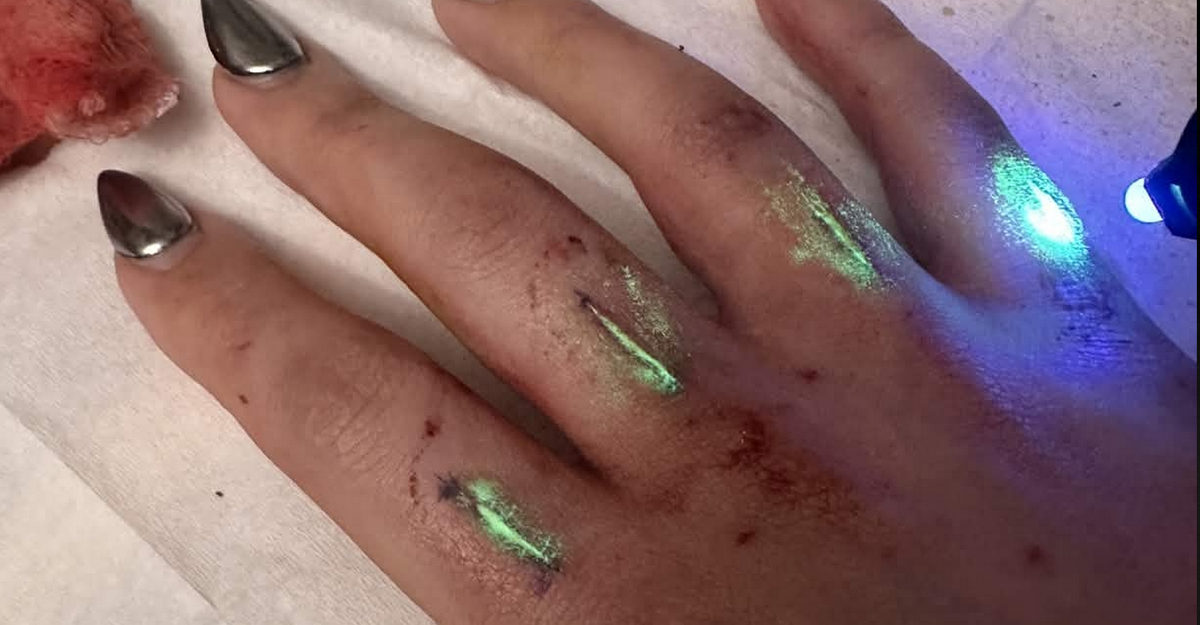
While healing, the scar will tend to heal from the bottom up and will tend to push the powder out. Thinner scars tend to catch more powder since they heal fast, trapping a lot of it before it is ejected. Also, be aware of how the skin in the area is under tension when moving. The scar being stretched open is not ideal for powder retention.
Numbing is left to the installer’s discretion. Lidocaine injections will prevent any pain, but may be illegal or difficult to get. Numbing patches and creams will only partially numb the area. Alternatives like ice or tourniquets can work to an extent, but must be performed safely.
The procedure
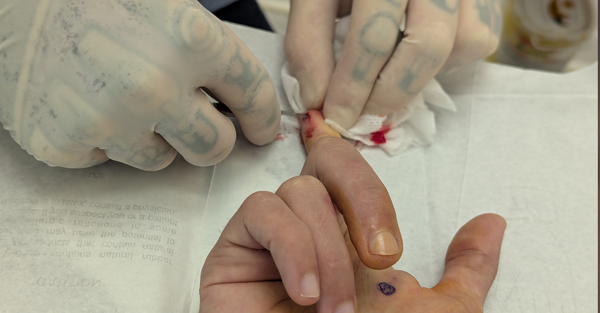
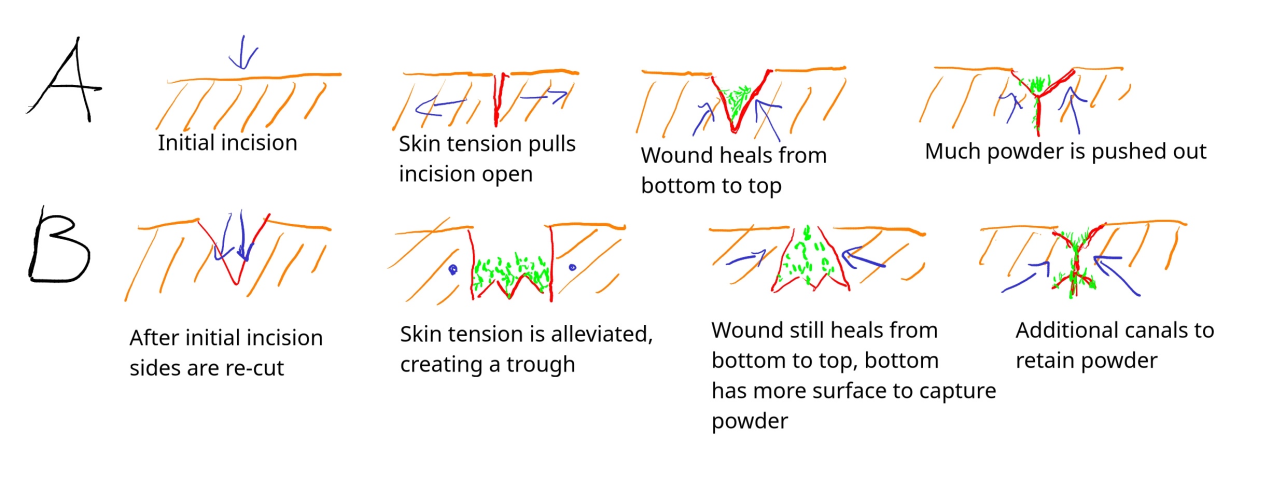
Once the location has been marked and the skin prepared, proceed to make the incision. Aim for a depth that reaches the hypodermis but doesn't go beyond. The goal will be to create a thin but deep cut without removing any skin. The scalpel blade can be run through it at an angle to widen the scar beneath the surface and create more space for the powder.
Some like to cut a Δ shape while others run multiple cuts at the bottom of the scar (see illustration by community member StarGate01). Ultimately, there is no perfect solution and each installer will have their own preferences.
Once completely done with the cutting, let the scar fill with some blood (just enough to wet it, not dripping). The blood will wet the powder and create a paste that is easier to rub in.
Pour plenty of powder over the scar and rub it in. Make sure the scar is packed and ideally cover it once again with a thin layer of new dry powder that will isolate the paste below from the dressing and also fill in any gaps that are created with movement.
Clean up the area around the scar from any extra powder and dress it with Tegaderm or any tattoo aftercare solution that will retain the skin's natural moisture and maintain light pressure over the area.
*Aftercare
Moisture is going to be a major factor in the aftercare. The goal is to let the scar heal slowly without it making a scab. This is why the scar should never dry out. It should remain lightly damp at all times. Tegaderm and hydrocolloid bandages should do that on their own.
Keep the wound covered and under light pressure. Avoid changing the dressing too regularly (a few days apart at least). The less you touch it, the better.
If it is necessary to change the dressing, proceed with care as the powder content of the scar might be pulled out accidentally. Use copious amounts of wound wash to make sure nothing sticks to the Tegaderm and top up with more powder if necessary. The Tegaderm can be replaced with a hydrocolloid bandage.
*Risks
No matter how clean and well-done, a scar poses a risk of infection and/or rejection. Consult a medical professional if you have any doubts.
We are aware that due to regulations or a general apprehension of body mods in your area, medical professionals might refuse to deal with scarifications or be intentionally or unintentionally unhelpful. In such cases, seek advice and help from your installer, the powder vendor, or experienced community members. Do not let a failed install degenerate.
*Removal
There is no clean removal process. Cutting the whole scar out may be the only option and is probably not ideal.
Laser removal and other methods are being considered, but it is unlikely they will work as the powder is very different from tattoo ink.
*Recommendations
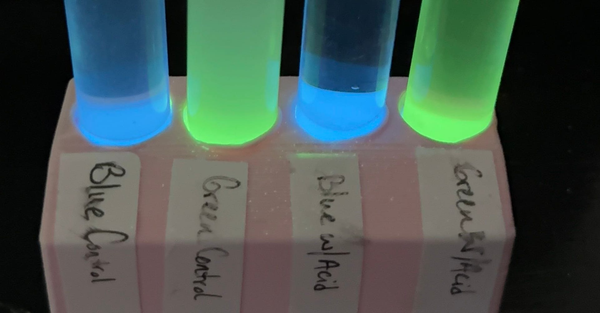
Can I mix colors?
Yes, absolutely. You can mix different ratios before or during the procedure. You can even make gradients. Beware, though, that different colors have different brightnesses.
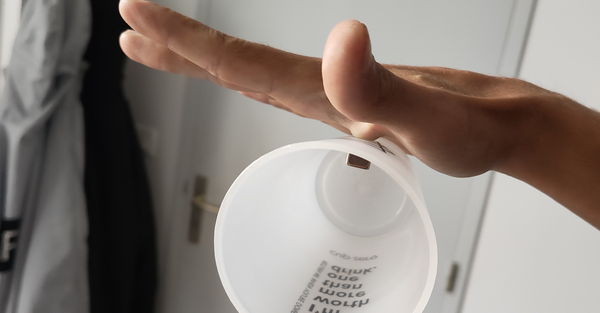
Palms and glabrous skin
So far, no attempts on the palms and underside of fingers have succeeded. These areas should be considered experimental with a high likelihood of not retaining any powder.
Peeling and larger scars
Large scars have yielded mixed results. You can explore our socials to see some of the wild things our pro partners have tried and form your own opinion.
Overall, there are too many variables to give any guidelines, and the result will be entirely reliant on your installer's experience and the quality of the aftercare.
If this is your first, we strongly recommend starting with something small and simple: a bracelet, a rune, a heart...