Abyss Walker Magnet Installation Guide
*Location choice
Magnets are predominantly used for two purposes: lifting/holding small objects and sensing magnetic fields. Therefore, the implant location is usually influenced by the implant’s intended use.While any location is technically possible, the arms and hands are the most common choices.
*General guidelines
To prevent failure, pain, or discomfort, it is important to avoid friction and impacts during daily activities.
Avoid:
- Moving body parts like joints
- Hard surfaces like bones
- Tight and narrow locations
Prioritize:
- Soft areas backed with muscle or fat
- Locations that are out of the way when interacting with tools/ doing sports/ daily activities
- Locations that are practical for the intended use
*Specific common locations
Fingertips
Fingertips are ideal for sensing due to their high nerve density and intuitive touching motion. Due to the limited space, it is highly discouraged to use any but the smallest magnets there.
Obviously, the small magnets won’t be ideal for lifting, but they’re sufficient to lift a bottle cap.
Magnets are installed on the soft finger pad. To avoid discomfort while handling objects and tools, it is recommended to offset the placement to one side of the pad so that it doesn’t get pinched between the bone and a hard object. This is especially true for people practicing manual work and sports like climbing or using power tools.
Palm-side thumb webbing
This spot, at the base of the thumb in the skin flap connecting it to the palm, is one of the most polyvalent ones. It has proven to be quite sensitive thanks to a looser skin and has enough space for big magnets. While a magnet there doesn’t get in the way in common activities thanks to a lot of soft tissue backing it, you should still consider the practicality of it in some extreme jobs/activities that involve gripping ropes or tools for example. In cases like this the precise place will be important.
Back-side thumb webbing, edges & between metacarpals
These include the soft area between the thumb and index finger, the edge of the hand on the thumb and pinkie side, and the channels between the metacarpals.
These are common spots and very practical ones for holding small items like screws. They are not the most sensitive areas and should rather be used for holding/lifting with bigger magnets.
Placement between the metacarpals is a bit trickier and should probably be reserved for cylindrical magnets.
Ears
Tragus magnets have been done before. They allow the user to hear strong magnetic fields and serve as headphones to an extent. Nevertheless, it is a tricky and uncommon spot.
Arms & rest of the body
These are pretty straightforward locations that have room for larger magnets.
Genitals
This location is not well documented and very nuanced, but should follow the same guidelines as other genital implants. Cleanliness and sanitization is incredibly important in this area, including avoiding moisture build-up as much as possible during the healing process.
*Installation procedure
The procedure will vary based on the magnet size and installation location. This guide is targeted at small sub-centimeter magnets. For larger ones, the process is the same as aesthetic silicone implants, and the operation should only be carried out by experienced installers.
Preparation and tools
Follow the same preparation as any minor operation. All implanted magnets must be sterile and implanted with sterile equipment.
Beware of steel tools, as magnets will stick to them. Test your tools in advance with another magnet or make sure to have plastic tools at your disposal.
The goal will be to create a pocket by first making an incision and then detaching the skin on one side. Then the magnet is slid inside, and the wound is closed.
While healing, the pocket will shrink from the back towards the incision and will tend to push the implant towards the exit, hence why we make the pocket slightly deeper than necessary. A magnet pushing against the inside of the incision will prevent it from healing and will most likely reject.
Do not touch or scrape the magnet with sharp tooling. While titanium is hard, scratches on the surface can allow bacteria to multiply undetected inside the body.
Numbing is left to the installer’s discretion. Lidocaine injections will prevent any pain, but may be illegal or difficult to get. Numbing patches and creams will only partially numb the area. Alternatives like ice or tourniquets can work to an extent, but must be performed safely.
The procedure
Once the location has been marked and the skin prepared, proceed to make a straight incision slightly longer than the width of the magnet (1-2mm more). The incision must be at least 4-5mm away from the desired magnet location.
Depending on the size use either the scalpel blade or a dermal elevator to detach the skin all the way to the desired location, forming a U shaped pocket.
Slide the magnet inside and make sure to push it all the way to the end. Apply some pressure to expel blood and air from the wound and settle the magnet.
If the incision is small enough, it can be closed with medical glue or a steri-strip, but in most cases, one or multiple stitches are recommended.
*Aftercare
Keep the wound clean and covered for a few days to a few weeks, depending on the size of the incision. It can be cared for like any regular cut.
Avoid using the magnet for lifting or sensing during the first couple of months, but especially while the wound is closing. Minimal movement will result in the best healing.
Swelling is to be expected, and even if it is not visible, it can impact performance for months after the install. This means the magnet can get stronger up to 6 months after the installation.
If the area becomes red, hot to the touch, creates a sharp pain when touched, or swells excessively, immediately consult a medical professional. These are signs of infection.
If the magnet is visible through the skin, moves around a lot, or is pushing against the entry wound, see your installer for advice. It might have to be removed and re-positioned, or it can settle down with time.
*Risks
No matter how clean and well-placed a magnet implant, like any subdermal, poses a risk of infection and/or rejection. Consult a medical professional if you have any doubts.
We are aware that due to regulations or a general apprehension of body mods in your area, medical professionals might refuse to deal with biomagnets or be intentionally or unintentionally unhelpful. In such cases, seek advice and help from your installer, the magnet vendor, or experienced community members. Do not let a failed install degenerate.
*Removal
The removal process is straightforward:
Locate the magnet and make an incision along the side of it. If it isn’t adhered to the tissue, it might slide out with some pressure. If not, use a scalpel to carefully detach it from the top and bottom layer while regularly trying to push it out. Sterile medical tools can be used to grab it and pull it if necessary.
The wound can then be closed similarly to the installation process.
*Recommendations
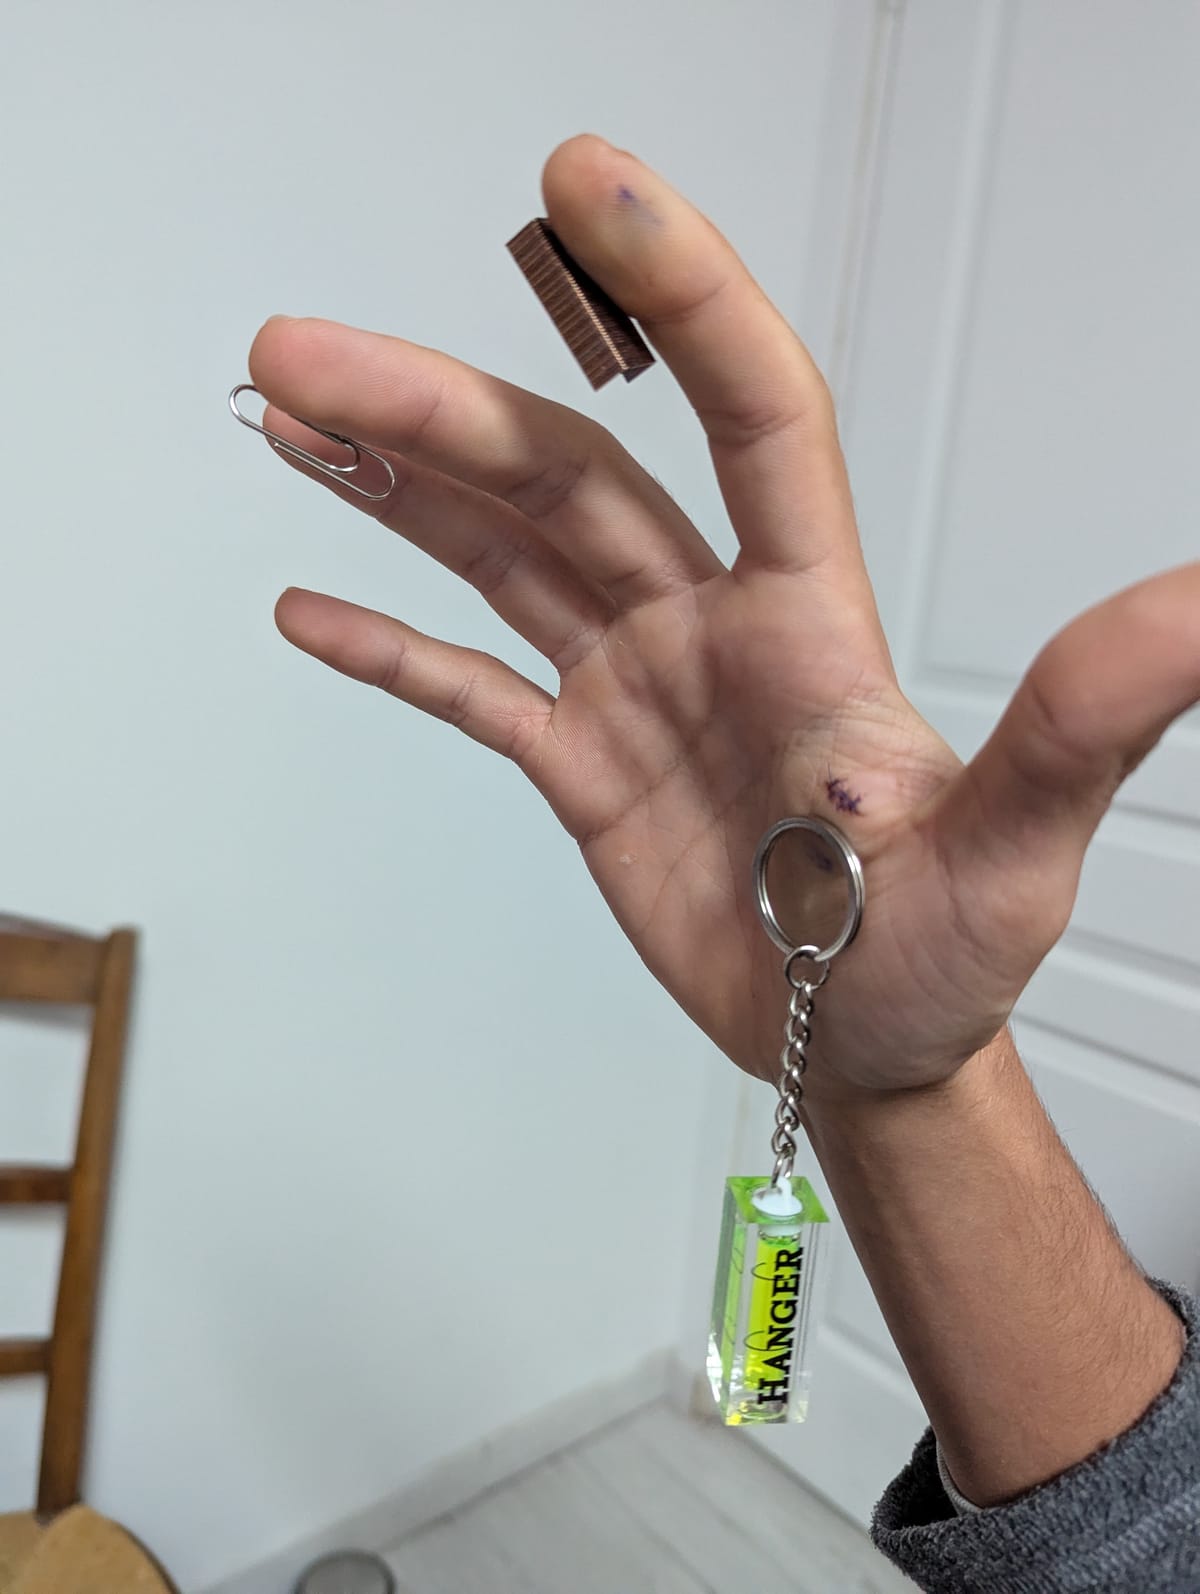
Holding metal objects
Do not leave anything stuck to the magnet for more than ~30 minutes, even if there is no pain and the pressure isn’t high. The pinching will deprive your skin of blood, and it can provoke necrosis if not careful.
MRI compatibility
While people have undergone MRIs with magnets, and online sources might state otherwise, we strongly discourage taking MRIs with unprotected magnets.
First, talk to your doctor and/or the MRI technician. They will most likely come up with an alternative imaging technique, like X-rays, or advise you on how to proceed if the MRI is strictly necessary.
We recommend carrying a medical card (can be printed) in your wallet in case you are found unconscious or unable to communicate. Medical professionals will always look for those in your pockets. On it, clearly state that you have MRI-incompatible magnets and their location.